| Mfr. Part No. | Description |


Phone : + 86-28-65770218
Fax : + 86-28-86129221
Email : sunny@asicedirect.com
And constantly improve our products and services to provide efficient custom automation solutions to ensure that customers get fast, professional service and support.
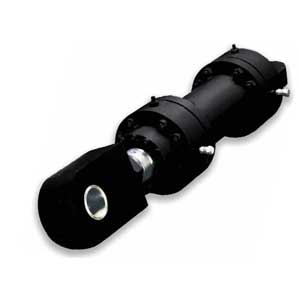
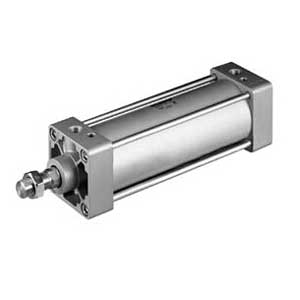
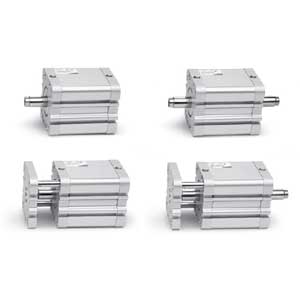
A solution provider in the industrial control & electronic market, providing quality automation parts.
Headquarters: ![]()
© 2015-2022 A&S Automation.,Ltd. All Rights Reserved.